Vivint security camera is a powerful addition to your home security system. These security devices offer multiple advantages with several features, including crystal-clear vision, seamless integration, and motion alerts. However, to explore the full potential of this security device, it is crucial to understand How To Connect Vivint Camera To WiFi. Similarly, this guide elaborates on the quick steps to connect your security device to wifi within minutes. Before getting started, let’s have a look at the prerequisites of this procedure.
Requirements For the Vivint WiFi Setup
To begin the Vivint security camera wifi setup, it is important to be ready with the essential requirements. So, gather these things to start this process smoothly:
- A Vivint security camera (powered on)
- An active Vivint Smart Hub or Panel
- Relaible wifi network
- Default WiFi Name (SSID) and Password
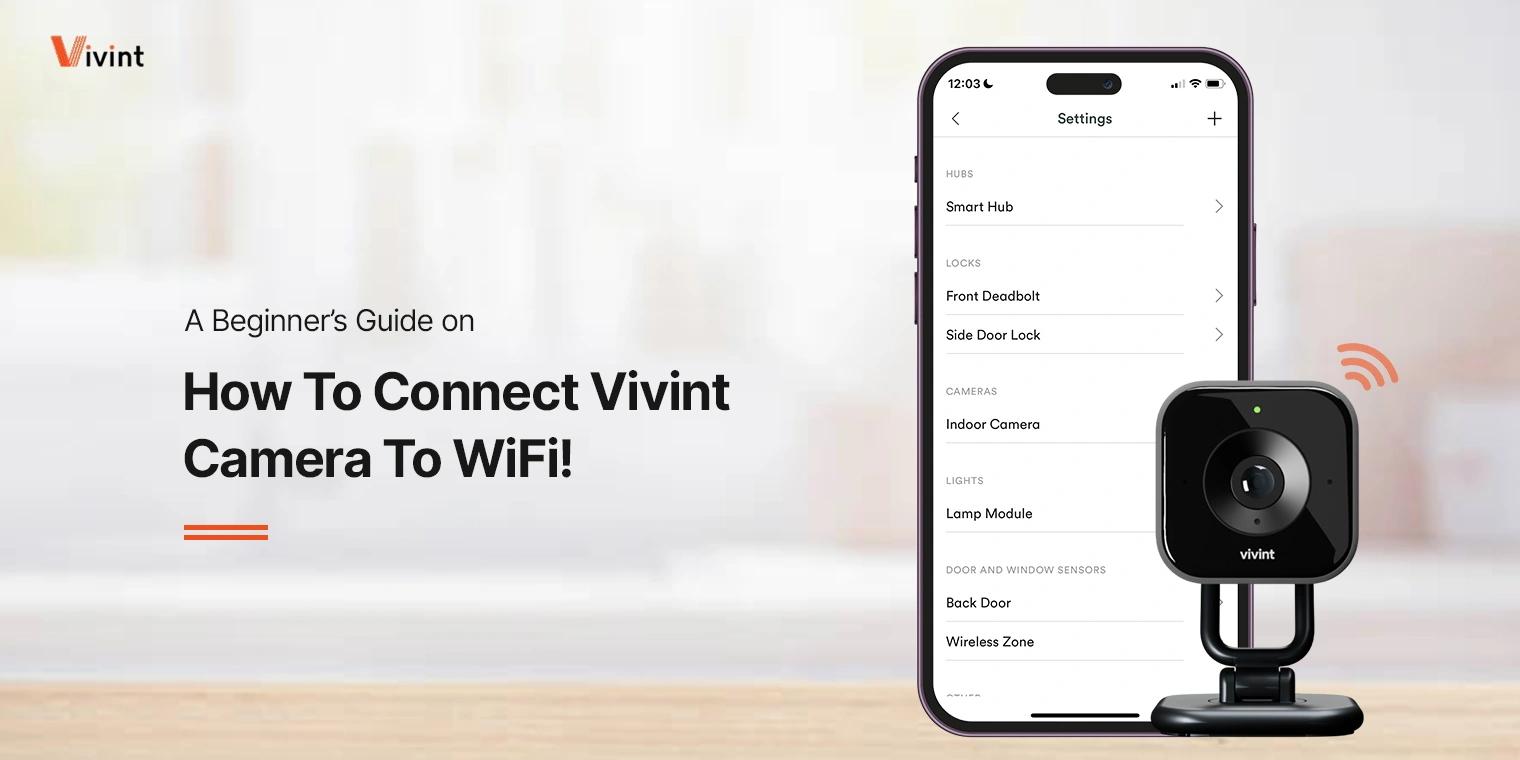
- The Vivint Smart Home App
- A compatible smartphone,
- Active Vivint account
- Registered email and password, etc.
Once you have all these things in hand, you can directly initiate the wifi configuration. For that, you must know How To Connect Vivint Camera To WiFi. So, let us explore this process in the next section.
How To Connect Vivint Camera To WiFi Quickly At Home?
When you buy the Vivint security device, the first step is to complete its initial configuration. Most importantly, you must know How To Connect Vivint Camera To WiFi to make your device work seamlessly. Therefore, this section outlines the quick steps to connect your Vivint security camera to the wifi network. Let’s have a closer look:
- First, download and open the Vivint Smart Home app on your phone.
- Then log into your Vivint account using your registered credentials.
- After that, you will reach the home dashboard of your security camera.
- Now, ensure that your camera is added to your account.
- Next, choose your device and tap the “Change WiFi” or “Connect to WiFi” options.
- Check the LED indicator on your camera to confirm it is in the pairing mode.
- After that, choose your preferred wifi network from the available networks.
- Now, choose an SSID and enter its password.
- Wait for a few seconds, your camera initiates connecting to the wifi.
- Then, wait for the confirmation of a successful wifi connection.
- Finally, test your wifi network and make sure everything is working smoothly.
Expert Advice For A Stable WiFi Connection
Moreover, you have now set up your camera with the available wifi network. Further, you must follow some expert tips to enhance its performance, as given below:
- Ensure camera placement at a central location
- Avoid network interference or obstructions like walls, mirrors, etc.
- Keep your devices closer to each other
- Update the firmware on your camera regularly
- If you are still struggling with weak wifi signals, use a range extender.
In Closing
In conclusion, knowing how to connect Vivint camera to WiFi is essential for maintaining a secure and responsive smart home. By following the correct steps, a bit of patience, and a stable internet connection, your camera will be ready to monitor and protect in no time. Moreover, you also know the quick tips to ensure a stronger network connection.